
fig.1

fig.2
fig.3
|
|
*Disclamer*:
First of all, I must stress that any content you follow on this page is down to you as an individual. I take no resposibility for damage to your machine, you do so as your own risk.
Prerequsites:
Before starting, you need to make sure you have a suitable working 3" drive as featured in the Spectrum 128k +3 or Amstrad CPC (6128 springs to mind). Ideally you should have the Amstrad FD-1 external drive unit (fig.1), which will make life much easier. Otherwise you need a 3" drive, some means of power (+3/CPC motherboard), standard PC floppy cable with two drive connectors and the FD-1 floppy interface (fig.2). If you are handy with a soldering iron you can build yourself such an interface (fig.3)
|
|
|
|
fig.3 |
|
Step 1: Download and configure the software
Download Ulrich Doevich's
excellent freeware utilities CPDread v3.24 and CPDwrite
v1.03 from:
http://www.classicgaming.com/caprice/
or the links above.
Edit the CPDread configuration file "cpdread.cfg" to expect;
| Tracks | = 42 |
| Drive | = A |
| Sides | = 1 |
| Step | = 1 |
| Media&Type | = 2 |
Edit the CPDwrite configuration file "cpdwrite.cfg" to expect ;
| Tracks | = 0 |
| Drive | = A |
| Step | = 1 |
| Media&Type | = 2 |
It would also be advisable to download Screen Thief v2.01 (Freeware) so that you can capture the graphical output displayed by CPDRead, this is invaluable for examining the disk layout and helps you determine whether your drive or disks are suffering for media wear. When viewing the output of the same disk dumped a couple of times, you will be able to see if there's a shift in pattern of data errors.
Step 2: Connecting a 3" drive to your PC
First and most importantly, make sure you computer and all periperals are unplugged.
If you have the FD-1 unit then connection is very simple. Below are two examples
of the inside of an FD-1 unit. One with and one without the 3" drive.
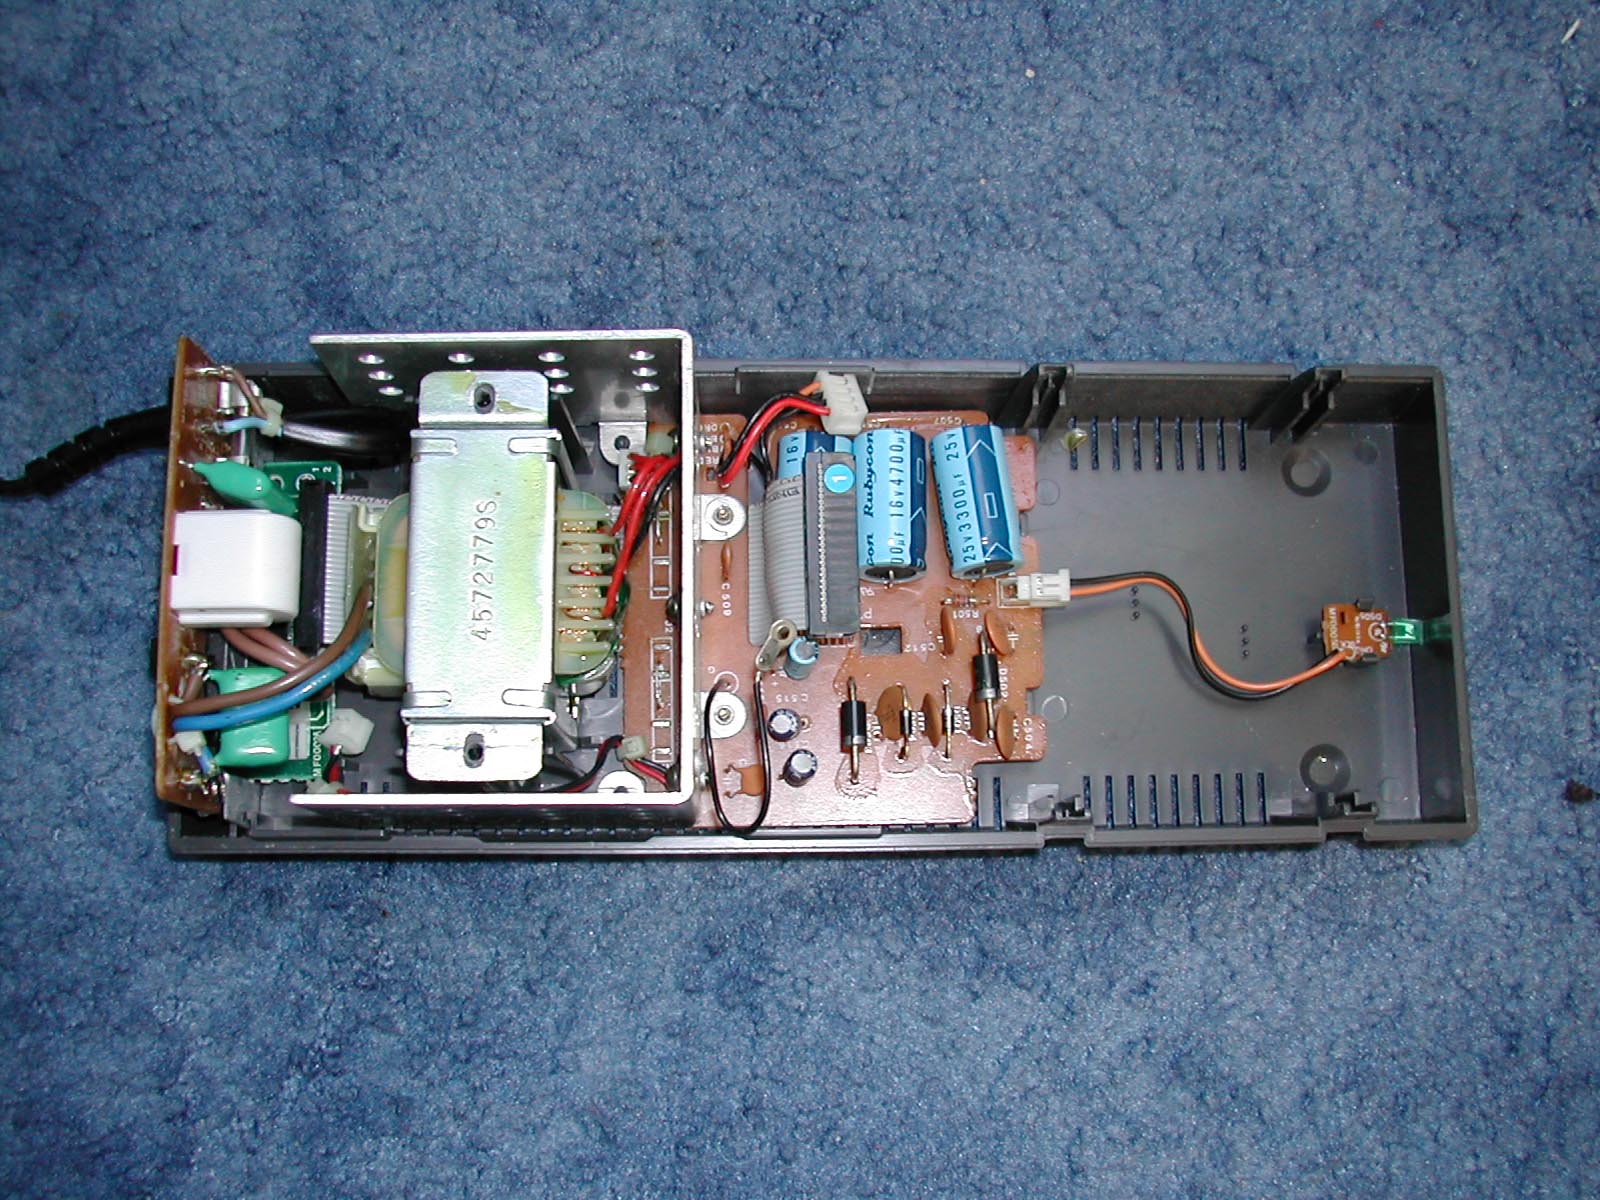 fig.4 |
 fig.5 |
You *MUST* make sure that
you disconnect the power connector that supplies power to the floppy cable,
this can be located at the bottom left of the device near the green capacitor.
If you don't remove this connector, power will be supplied through the floppy
cable and you risk damaging you PC's FDC (Floppy Disk Controller), or even killing
your PC. I found this out the hard way and wondered why my PC wouldn't start
up. Luckily my computer survived, but it could all have gone disaterously wrong
:-(
Now that you've disconnected the floppy cable power connector you can reassemble
the FD-1 unit and hook it up to your PC. You need to connect the floppy cable
from your PC motherboard to the FD-1 unit so that the red stripe points towards
the power cable (black). I'll try and get another picture of this just to be
sure and for a visual reference. Fig.2 give you an indicator of how it should
connect.
I'll cover the method using a +3 and FD-1 interface later on.
Step 3: Reading and writing
the disks
Turn the +3 or FD-1 unit on (the drive should whirr up)
Turn the PC on and configure
it's BIOS to expect a 360K 5.25" drive on "A:". Disable the "B:"
drive. Save & reboot. Don't worry if the floppy drive test fails, and it
may sound a bit noisy. As soon as possible press F8 so that you are presented
with some boot options (DOS-Win 98)
and select command prompt only. You will then be taken into a command prompt
where you can start reading or writing disks using CPDRead/CPDWrite.
Links to useful resources